
How to Match a Power Amplifier with Speaker Power and Impedance
Learn how to match a power amplifier with speakers using power ratings, impedance, headroom, wiring, operating modes, and protection for reliable professional audio.
News Detail
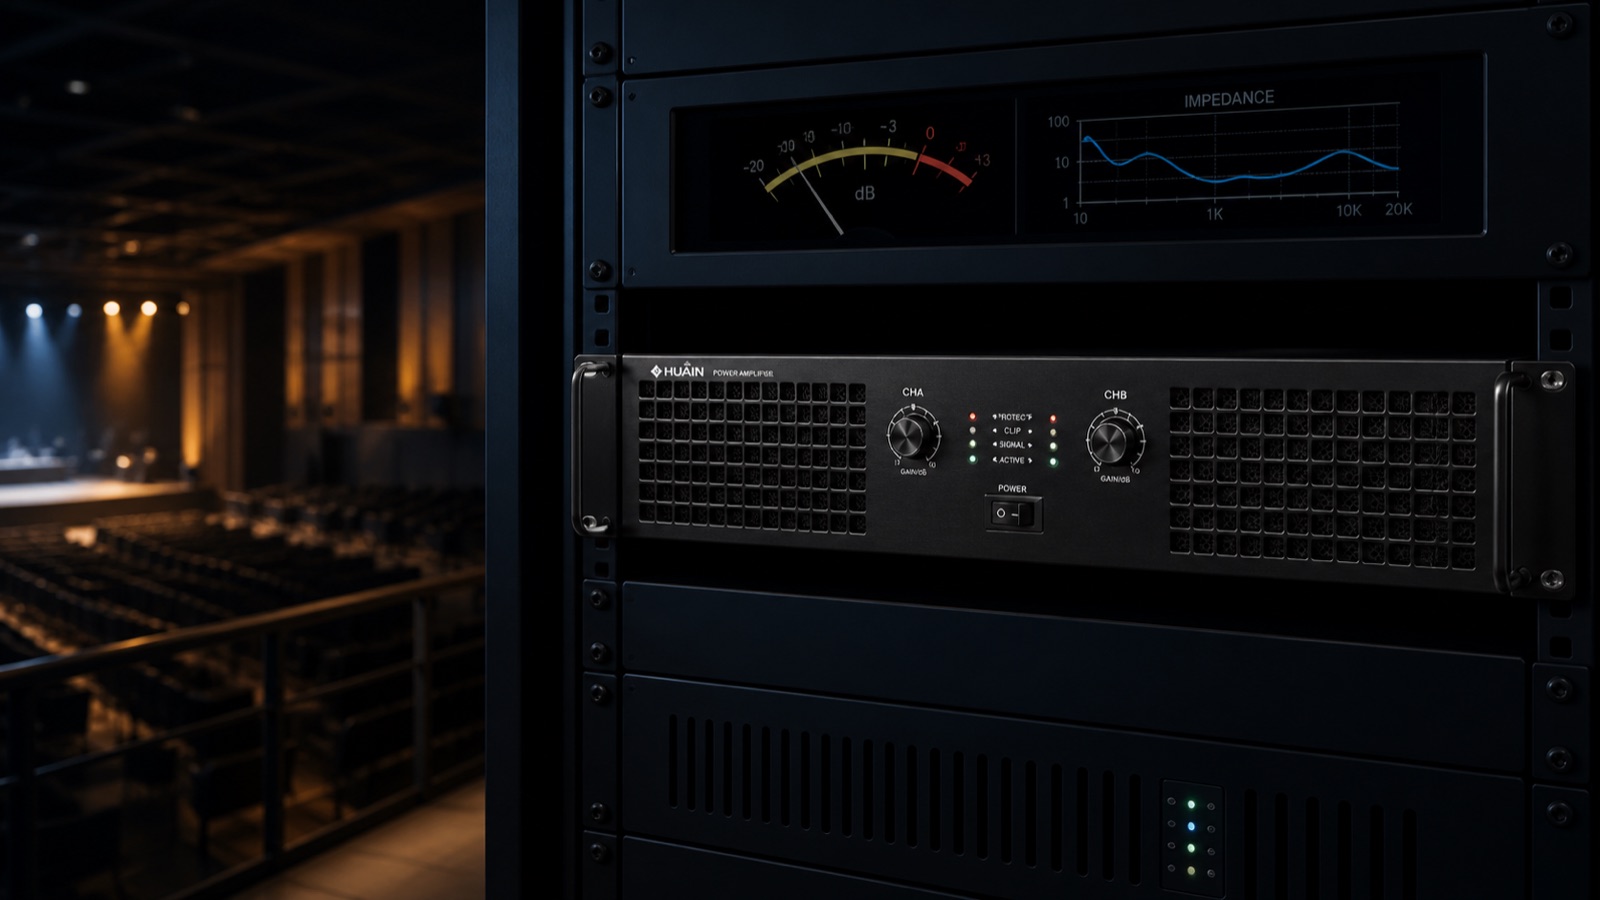
<p>How to Match a Power Amplifier with Speaker Power and Impedance</p><p><br></p><p>A power amplifier raises the output from a mixer or DSP to a level that can drive loudspeakers. An undersized amplifier may clip and produce harsh distortion, while excessive power without proper limiting can damage the drivers. Correct selection requires power, impedance, wiring, and operating conditions to be considered together.</p><p><br></p><p>1. Read speaker power ratings correctly</p><p>Speaker specifications may list Continuous, RMS, Program, and Peak ratings. These are not interchangeable. Use the manufacturer’s recommended design rating and compare like-for-like values. Do not size an amplifier from the Peak number alone because it describes short-duration capability rather than continuous operation.</p><p><br></p><p>2. Check impedance</p><p>Amplifier output changes with the connected load, commonly 8 ohms or 4 ohms. Connecting multiple speakers in parallel reduces total impedance. Calculate the load on every channel and keep it within the amplifier’s rated operating range. A load that is too low can cause overheating, protection shutdown, or equipment failure.</p><p><br></p><p>3. Allow suitable headroom</p><p>Professional systems often use an amplifier with reserve power above the speaker’s continuous requirement so short peaks can pass without clipping. A range around 1.2 to 1.5 times can be a useful starting point in many applications, but the speaker manual, program material, duty cycle, and limiter settings must determine the final design. One ratio should not be applied blindly to every project.</p><p><br></p><p>4. Understand Stereo, Parallel, and Bridge modes</p><p>Stereo provides two independent amplifier channels for left/right speakers or separate zones. Parallel sends one input signal to both channels while keeping the outputs separate. Bridge mode combines two channels to drive one load at higher power. Bridge wiring and minimum impedance must follow the manufacturer’s instructions exactly.</p><p><br></p><p>5. Speaker quantity and cabling</p><p>Define the number of speakers per channel, series or parallel wiring, cable distance, and conductor size before selecting the amplifier. Long or undersized cables waste power and reduce damping performance. Multi-zone systems are easier to manage when zones have appropriate independent amplification.</p><p><br></p><p>6. Protection and cooling</p><p>Look for thermal, short-circuit, DC, overload, and output protection. Install amplifiers in a rack with unobstructed airflow and proper power sequencing. Repeated Clip or Protect indications are warnings to inspect system gain and loading, not signals to keep increasing the volume.</p><p><br></p><p>7. DSP and limiter setup</p><p>Crossover, EQ, delay, and limiting keep each loudspeaker within a safe frequency and power range. System measurement and commissioning are more important than the wattage number printed on the front panel.</p><p><br></p><p>HUAIN amplifier examples</p><p>HY-A400 provides 2 x 400 watts at 8 ohms, while HY-A600 provides 2 x 600 watts at 8 ohms. These professional amplifiers support multiple operating modes and protection functions. The correct model should always be confirmed against the loudspeaker rating and final impedance of the project.</p><p><br></p><p>Conclusion</p><p>Begin with the loudspeaker’s continuous rating, calculate the total impedance, allow controlled headroom, and set the limiter correctly. Then verify cooling, wiring, and gain structure. This approach produces cleaner sound, reduces clipping, and protects the complete audio system.</p>